


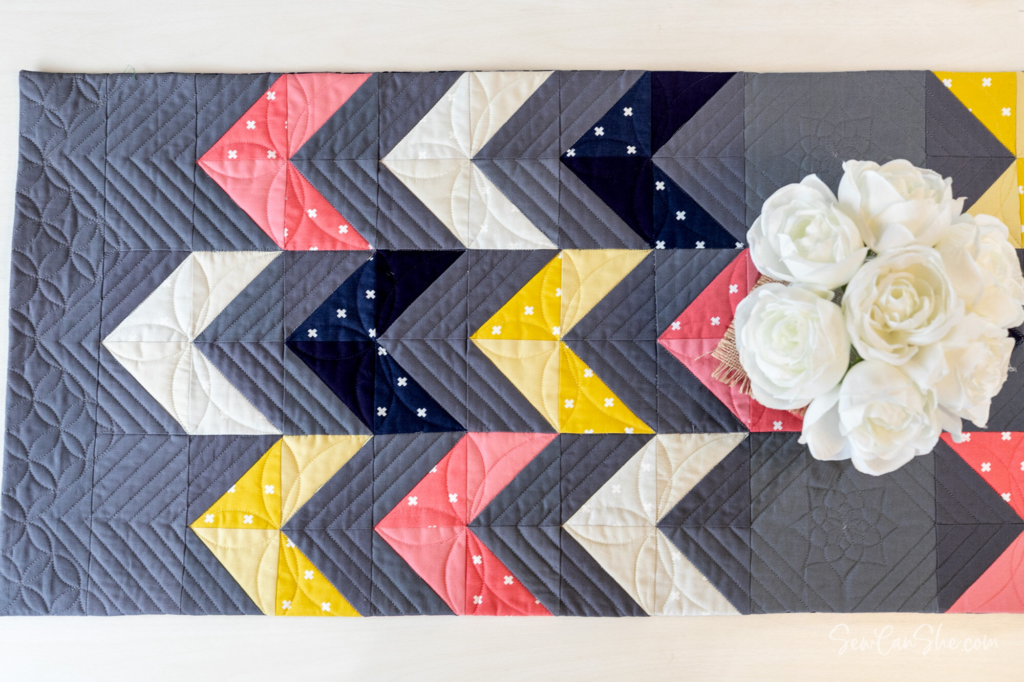
Creating a modern table runner is a delightful and rewarding project, perfect for beginners looking to add a touch of handmade charm to their home decor.
This step-by-step guide will help you craft a stylish table runner using simple quilting techniques. Let’s dive in!
Materials Needed
- Fabric: Three coordinating cotton fabrics (one for the top, one for the backing, and one for the binding)
- Batting: Lightweight quilt batting
- Thread: Coordinating thread
- Cutting Tools: Rotary cutter, cutting mat, and fabric scissors
- Measuring Tools: Quilting ruler and measuring tape
- Pins or Clips: To hold fabric layers together
- Sewing Machine: Basic sewing machine
- Iron and Ironing Board: For pressing fabric and seams
Step-by-Step Instructions
Step 1: Preparing the Fabric
-
Choose Your Fabrics:
- Select three fabrics that complement each other. For a modern look, consider using solid colors or geometric prints.
-
Wash and Iron:
- Pre-wash, dry, and iron your fabrics to prevent shrinking and to remove any wrinkles.
-
Cutting the Fabrics:
- Top Fabric: Cut 18 strips of fabric, each measuring 2.5 inches wide by 14 inches long.
- Backing Fabric: Cut one piece measuring 14 inches wide by 42 inches long.
- Batting: Cut one piece measuring 14 inches wide by 42 inches long.
- Binding Fabric: Cut strips totaling 2.5 inches wide and long enough to go around the perimeter of the table runner (approximately 100 inches in total).
Step 2: Assembling the Top
-
Arrange the Strips:
- Lay out the 18 strips in a pleasing order. Play around with the arrangement until you are happy with the pattern.
-
Sew the Strips Together:
- Sew the strips together along their long edges using a 1/4-inch seam allowance. Press the seams open or to one side, as preferred. You should have a piece that measures 14 inches wide by 42 inches long.
Step 3: Layering the Quilt Sandwich
-
Layer the Fabrics:
- Lay the backing fabric right side down on a flat surface.
- Place the batting on top of the backing fabric.
- Place the pieced top fabric right side up on top of the batting.
-
Smooth and Secure:
- Smooth out any wrinkles and pin or clip the layers together to prevent shifting.
Step 4: Quilting the Table Runner
-
Mark the Quilting Lines:
- Using a fabric-safe marking tool, draw straight lines across the width of the table runner, spaced about 2 inches apart.
-
Quilt the Layers:
- Starting from the center and working your way outwards, quilt along the marked lines using a straight stitch. This helps to ensure the layers stay aligned.
Step 5: Trimming and Binding
-
Trim the Edges:
- Trim the edges of the table runner to ensure they are even and straight.
-
Prepare the Binding:
- Sew the binding strips together end-to-end to create one long strip. Fold the strip in half lengthwise with wrong sides together and press.
-
Attach the Binding:
- Align the raw edges of the binding with the raw edge of the table runner. Start in the middle of one long side, leaving a 6-inch tail.
- Sew the binding to the table runner with a 1/4-inch seam allowance, mitering the corners as you go.
- When you reach the starting point, join the ends of the binding together and finish sewing.
-
Finish the Binding:
- Fold the binding over to the back of the table runner and hand stitch it in place, covering the stitching line from the front.
Step 6: Finishing Touches
-
Press the Table Runner:
- Give the entire table runner a good press with your iron to set the seams and smooth out any wrinkles.
-
Inspect for Loose Threads:
- Check for any loose threads or uneven stitches and make any necessary adjustments.
-
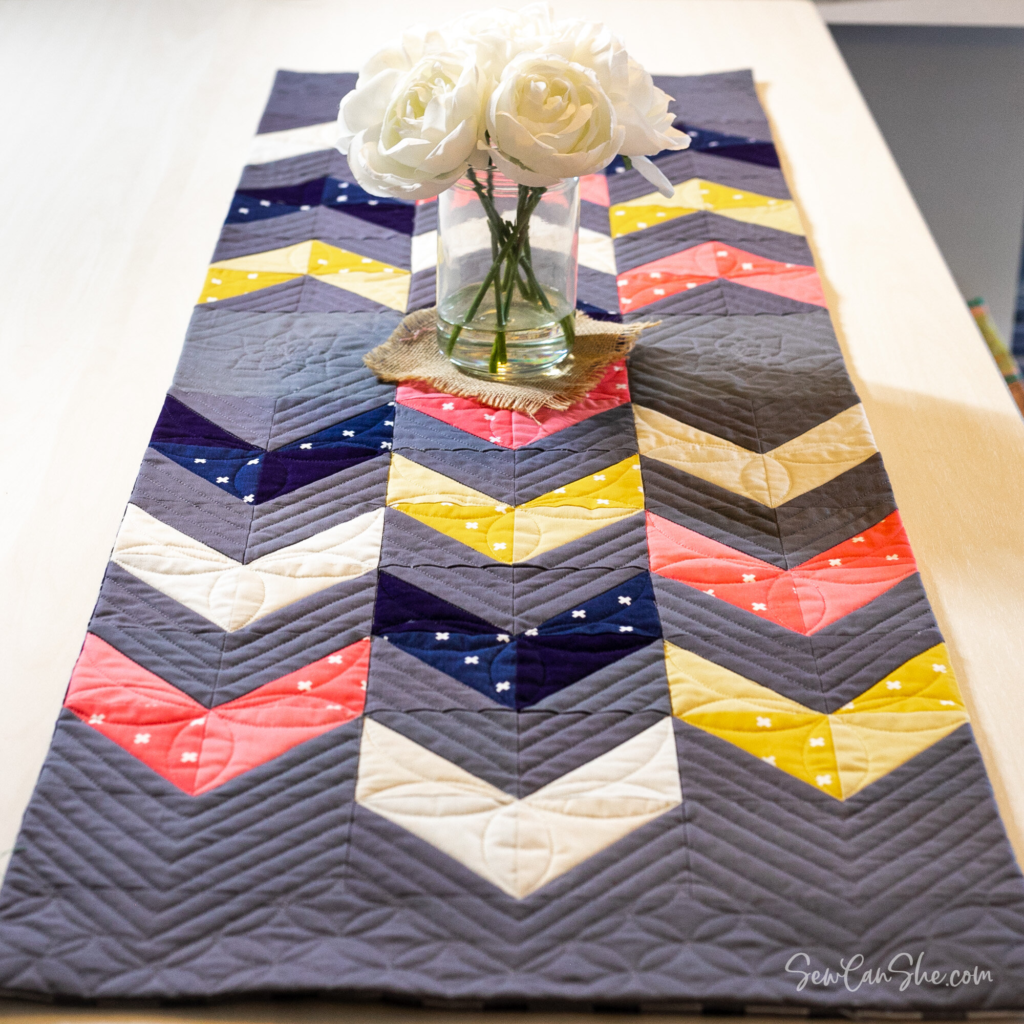
Display Your Work:
- Your modern table runner is now complete! Lay it on your table and enjoy the contemporary touch it adds to your home decor.
Tips for Success
- Choosing Fabrics: For a truly modern look, consider using a mix of solids and prints, or stick to a monochromatic color scheme with varying shades.
- Precision in Cutting and Sewing: Accurate cutting and precise sewing are crucial for a neat and professional finish.
- Practice Quilting: If you’re new to quilting, practice on a small piece of fabric first to get comfortable with your sewing machine and quilting techniques.
- Take Your Time: Enjoy the process and don’t rush. Taking your time will ensure a beautiful end result.
Conclusion
Creating a modern table runner is a fantastic project for beginners, offering a perfect blend of creativity and practicality.
With this step-by-step guide, you can easily make a stylish and functional table runner that will enhance your home decor.
Enjoy the process and the satisfaction that comes with completing your first quilting project. Happy sewing!


