


The famous granny squares never go out of style. They’re versatile, colorful, and bring a charming retro touch to any project.
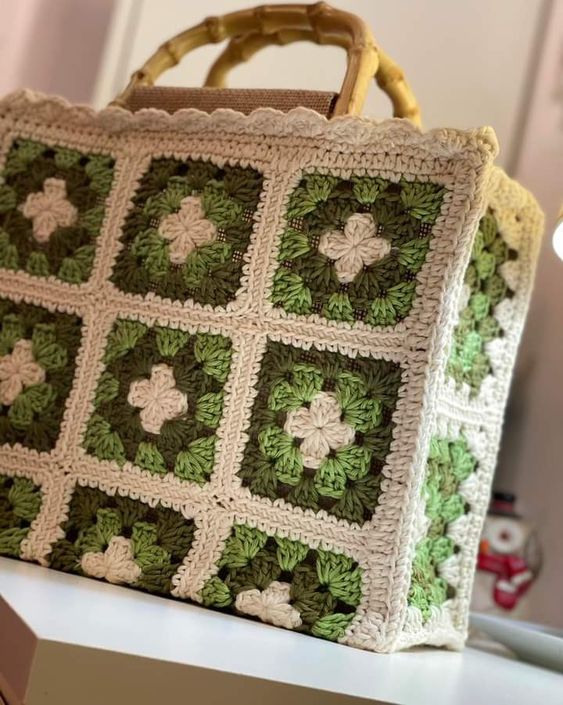
Today, I’ll show you how to turn these classic squares into a beautiful crochet bag, perfect for everyday use or as a handmade gift.
Even if you’re just starting out, don’t worry — this step-by-step tutorial is simple and beginner-friendly. Let’s get started!
Materials You’ll Need
Before you begin, gather your materials:
Cotton yarn (weight 4 or 6) in your favorite colors
Crochet hook suitable for your yarn (usually 3.5 mm or 4 mm)
Scissors
Yarn needle (for sewing squares together)
Bag handles (or yarn to crochet your own)
Fabric for lining (optional)
Tip: If this is your first project, use light-colored yarn — it’s easier to see your stitches.
Step 1 – Making the Granny Squares
The squares are the heart of this bag. We’ll start with the traditional granny square made of clusters of double crochet stitches.
Make a magic ring (or chain 4 and join with a slip stitch).
Chain 3 (this counts as your first double crochet).
Work 2 double crochets into the ring, forming your first cluster.
Chain 2 for spacing.
Repeat (3 double crochets + 2 chains) three more times.
Join with a slip stitch to the top of the beginning chain-3.
That’s your first square!
To make it larger, continue working in rounds:
In the corners, always make (3 double crochets + 2 chains + 3 double crochets).
On the sides, make 3 double crochets + 1 chain between each cluster.
Make 8 to 10 squares (or more, depending on how big you want your bag).
Step 2 – Joining the Squares
Once all your squares are ready, it’s time to assemble your bag.
Join the squares with invisible stitches using a yarn needle and matching yarn.
Or, if you prefer a decorative touch, join them with slip stitches directly using your crochet hook.
Create two panels (one for the front and one for the back) in the shape you want — for example:
4 squares wide x 2 squares tall for a medium-sized bag.
Sew the sides and bottom together to form a pouch.
Step 3 – Finishing the Top Edge
Now let’s give the top edge a neat finish:
Crochet a round of single crochet stitches all the way around the top.
For extra strength, add one or two more rounds.
If you want a delicate touch, finish with a simple decorative edge like picots or shells.
Step 4 – Adding Handles and Lining
Handles: You can use ready-made handles (leather, rope, or wood) or crochet your own with reinforced chains and single crochet stitches.
Lining: For a more polished and sturdy finish, cut a piece of fabric the same size as your bag and sew it inside with invisible stitches.
This detail makes your bag look professional and prevents small items from slipping through the crochet stitches.
Extra Tips: Customize Your Bag!
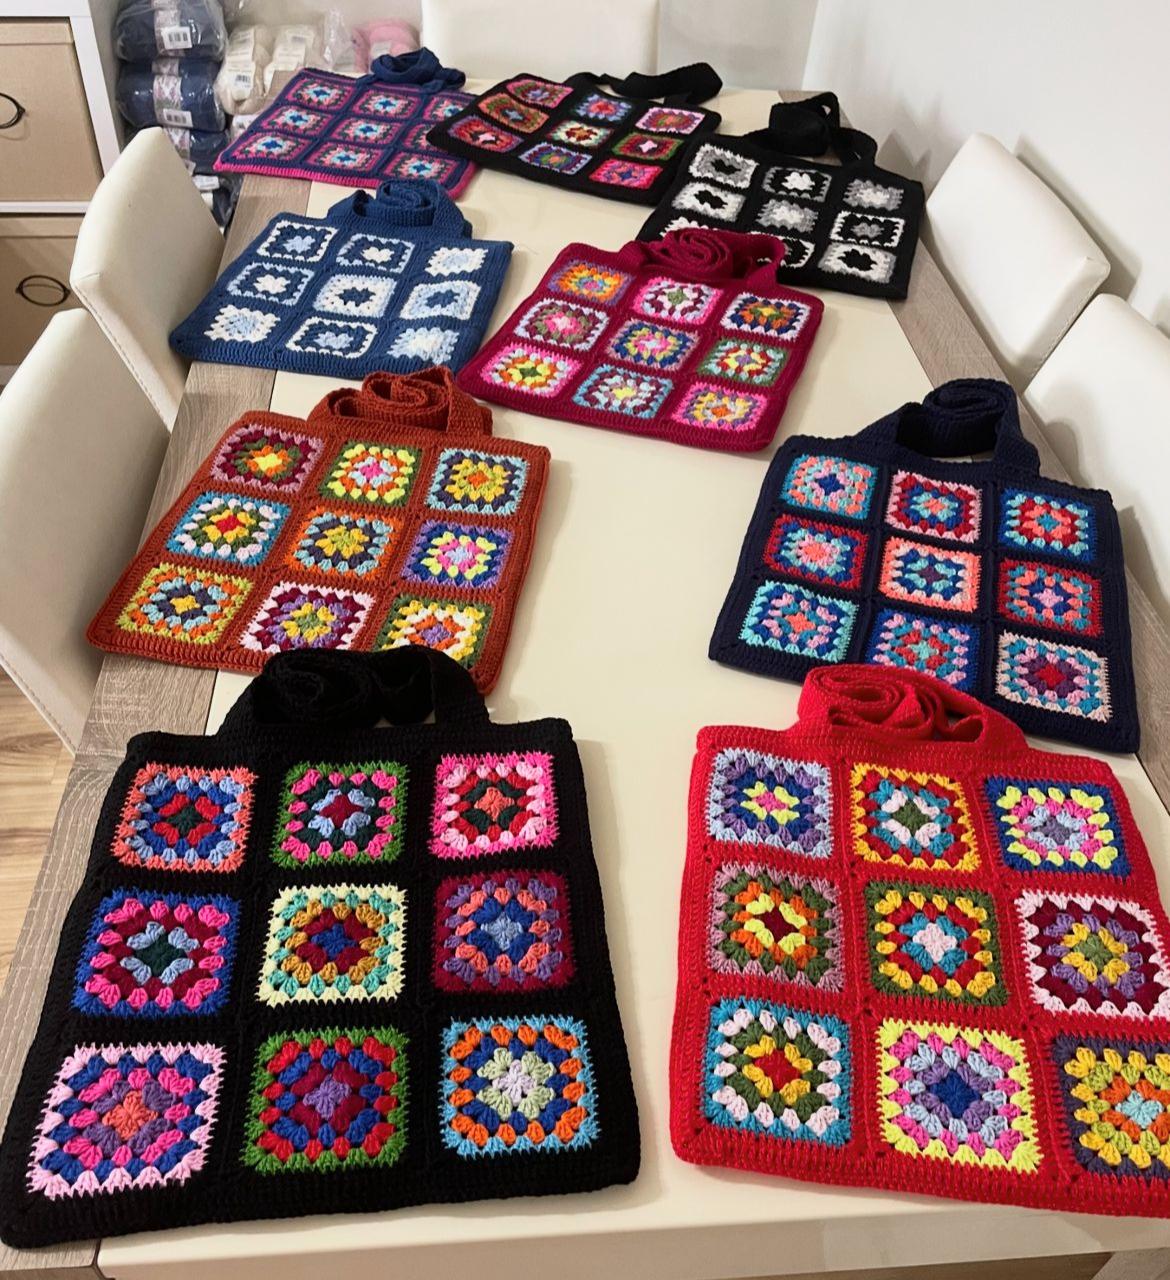
The best part about granny squares is how creative you can be with them. You can:
Make each square a different color.
Create fun color patterns or gradients.
Add flowers or buttons for decoration.
Include a magnetic clasp or a drawstring closure.
Let your creativity flow!
Final Thoughts
Making a crochet granny square bag is a fun, relaxing, and rewarding project. You’ll learn a timeless crochet technique while creating something useful and stylish.
Each square tells a little story — and when you join them together, the result is a piece full of color, care, and personality.


