


Have you ever heard of the classic obstacle stitch?
This no-needle crochet or knitting technique is taking the handmade world by storm! It creates a rich, textured look that’s perfect for blankets, scarves, pillows, and cozy home décor.
And the best part? You don’t need any needles to make it! Just your hands, some yarn, and a bit of creativity.
If you’re new to yarn crafts, this simple step-by-step guide is the perfect way to get started. 💕
What Is the Obstacle Stitch?
The Obstacle Stitch (also called Arm Stitch or Finger Stitch) is made entirely using your hands or arms instead of traditional hooks or needles.
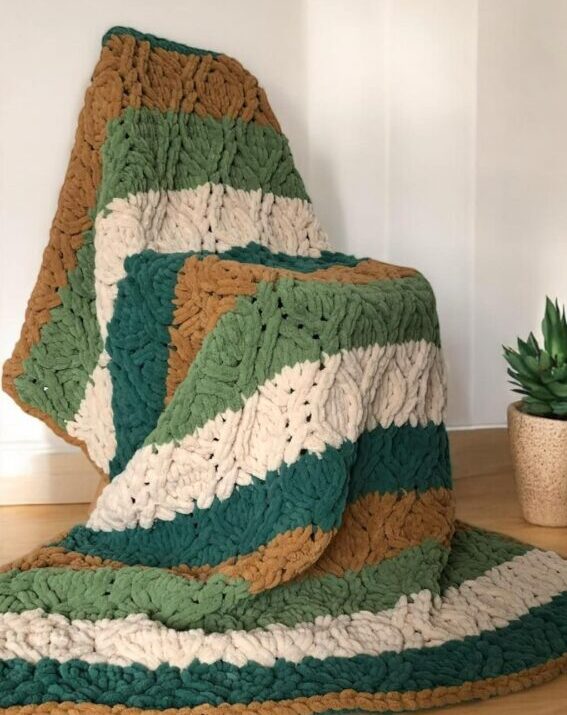
The result is a fabric that looks beautifully braided, with a soft, wave-like texture that resembles tiny “obstacles” running through the design.
This stitch creates a firm yet flexible fabric — ideal for chunky projects and modern handmade décor.
Materials You’ll Need
- You’ll only need a few supplies to start:
- Chunky yarn or T-shirt yarn (the thicker the yarn, the more defined the texture);
- Scissors;
- A flat surface to work on (like a table or your lap);
- And, of course, your hands!
Tip: Cotton rope yarn or thick wool blends work beautifully for this technique.
Step-by-Step: Classic Obstacle Stitch (No Needles)
1️⃣ Make the starting knot
- Leave about 20 cm (8 in) of yarn tail.
- Make a slip knot and place it over your index finger or wrist — this will be your first loop.
2️⃣ Create the base chain
- With your free hand, pull the yarn through the loop to make a new one.
- Repeat this process several times to form a chain of loops as long as you want your piece to be.
This will serve as your foundation chain.
3️⃣ Begin the first row
- Insert your finger into the second loop from the end.
- Pull the working yarn through to make a new loop above it.
- Repeat across the chain.
You’ll start to see the braided texture forming!
4️⃣ Continue the pattern
- At the end of the row, turn your work around.
- Insert your finger into the next loop, pull the yarn through, and create a new loop.
- Keep the loops evenly sized and the yarn tension consistent for a neat finish.
5️⃣ Finish the piece
- When you reach your desired length, cut the yarn, leaving about 15 cm (6 in).
- Pull the yarn tail through the final loop and gently tighten to secure it.
- Tuck in the loose ends with your fingers for a clean look.
Tips for a Perfect Finish
- Don’t pull the loops too tight — loose tension keeps the fabric soft and stretchy.
- Use soft, thick yarns that highlight the braid effect.
- Experiment with color changes for striped or ombré results.
- Practice the motion before starting your final project — it becomes second nature quickly!
Project Ideas Using the Obstacle Stitch
Once you’ve mastered the technique, you can make a variety of cozy handmade creations:
- Blankets and throws
- Chunky scarves and cowls
- Small rugs and table runners
- Pillow covers
- Decorative baskets
This stitch adds a warm, artisanal touch to any space — and the best part is, it’s quick and satisfying to make!
Why Try No-Needle Crochet?
Crafting without needles is not just fun — it’s beneficial too!
- It’s therapeutic and relaxing;
- Encourages creativity and coordination;
- Perfect for those who find traditional needles uncomfortable;
- Allows you to create large projects fast.
Final Thoughts
The Classic Obstacle Stitch – No Needles Needed is a beautiful, simple, and creative technique that proves one thing:
In handmade art, it’s not about the tools — it’s about the hands and heart behind each stitch.
With just a bit of practice, you’ll be able to create soft, textured, and stylish pieces using nothing but yarn and your own hands.


