


Amigurumi, the Japanese art of crocheting or knitting small stuffed creatures, has taken the crafting world by storm.
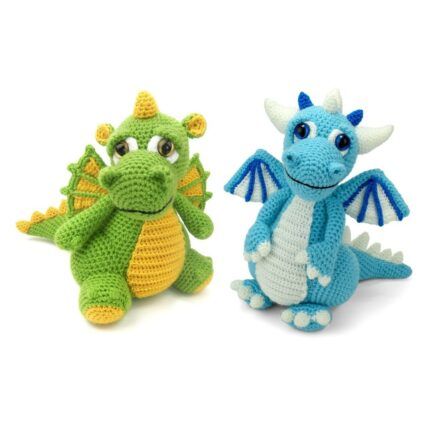
Among the delightful array of amigurumi creatures, the amigurumi dragon stands out as a whimsical and magical creation.
In this article, we will guide you through the process of creating your very own amigurumi dragon, from selecting materials to finishing touches.
Materials Needed:
Before you embark on this enchanting journey, gather the necessary materials:
- Worsted weight yarn in desired dragon colors (main body, wings, horns, etc.).
- Crochet hook suitable for your chosen yarn.
- Fiberfill or stuffing of your preference.
- Safety eyes or embroidery floss for eyes.
- Yarn needle for sewing and weaving in ends.
- Scissors.
Pattern for Amigurumi Dragon:
Follow these steps to crochet your amigurumi dragon:
Step 1: Body and Head
- Begin with a magic ring (or magic circle) and work 6 single crochet (sc) stitches into the ring. Pull the ring tight and slip stitch (sl st) into the first sc to join.
- Increase in every stitch (12 sts).
- 1 sc in next stitch, 2 sc in following stitch. Repeat around (18 sts).
- 1 sc in each of the next 2 stitches, 2 sc in following stitch. Repeat around (24 sts).
- Continue increasing gradually until the body is your desired length. Stuff the body as you go.
- For the head, decrease by working 2 single crochet together (sc2tog) every few stitches until closed. Stuff the head before closing it completely.
Step 2: Wings
- Create 2 wings by working a chain of desired length and then working rows of single crochet.
- Attach the wings to the body using your yarn needle.
Step 3: Horns and Eyes
- Crochet small horns and attach them to the dragon’s head.
- Attach safety eyes or embroider eyes using embroidery floss.
Step 4: Legs and Tail
- Crochet 4 legs and attach them to the body.
- Crochet the tail and attach it to the back of the body.
Step 5: Final Touches
- Embellish your dragon with additional details, such as nostrils, scales, or facial features using embroidery floss or yarn.
- Weave in any remaining ends.
Personalization and Creativity:
One of the most enchanting aspects of amigurumi is the freedom to customize and express your creativity.
You can experiment with different yarn colors, add accessories like tiny hats or scarves, or even incorporate beads for added sparkle. Let your imagination run wild and make your amigurumi dragon truly unique.
Sharing the Magic:
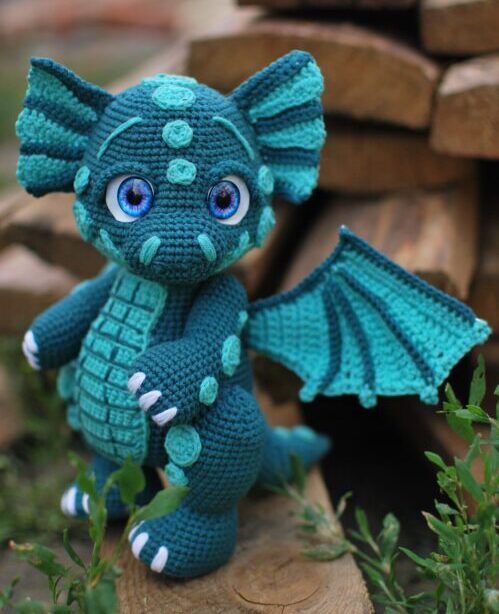
Completing your amigurumi dragon is a rewarding achievement. Whether you’re gifting it to a loved one or keeping it as a cherished creation, your dragon is sure to bring joy and enchantment.
Share your creation on social media or amigurumi communities to inspire and connect with fellow crafters.
In conclusion, crafting an amigurumi dragon is a delightful and magical journey that allows you to bring a mythical creature to life through your crochet skills.
Embrace the process, have fun, and watch your amigurumi dragon come to life, ready to spread its whimsical charm wherever it goes. Happy crocheting!


")