


The granny square is one of the most beloved and timeless crochet patterns.
Simple, versatile, and full of charm, it’s the foundation of countless projects — from blankets and cushions to bags, sweaters, and even dresses.
If you’re new to crochet, learning this pattern is the perfect way to start your creative journey!
Materials You’ll Need
You only need a few basic materials — and you might already have them at home:
- Cotton yarn (or your preferred type, in the colors of your choice)
- Crochet hook suitable for your yarn’s thickness
- Scissors
- Tapestry needle (for weaving in ends)
Tip: Choose contrasting colors to make your stitches easier to see and your squares more vibrant.
Basic Stitches Used
Before we begin, let’s review the basic stitches you’ll need:
- Chain (ch)
- Double crochet (dc)
- Slip stitch (sl st)
That’s all you need to make a classic granny square!
Step-by-Step: Traditional Granny Square
1️⃣ Start the center
- Make 4 chains and join with 1 slip stitch to form a ring.
(Or, if you prefer, start with a magic ring.)
2️⃣ Round One
- Chain 3 (counts as your first double crochet).
- Work 2 double crochets into the ring — this forms your first group.
- Chain 2 for the corner.
- Repeat the sequence (3 double crochets + 2 chains) three more times for a total of four groups.
- Join with 1 slip stitch to the top of the first chain-3.
You should now have four corners.
3️⃣ Round Two
- Slip stitch across to the next chain-2 space.
- Chain 3, work 2 double crochets, 2 chains, and 3 double crochets in the same space (that’s one corner).
- In the next chain-2 space, repeat 3 dc, 2 ch, 3 dc.
- Repeat in all four corners and join with a slip stitch.
Your square is beginning to take shape!
4️⃣ Round Three and beyond
- In each corner: 3 dc, 2 ch, 3 dc.
- In each side space (between corners): 3 dc.
- Continue in this pattern until your granny square reaches the size you want.
- Change colors between rounds if you’d like a classic multicolor look.
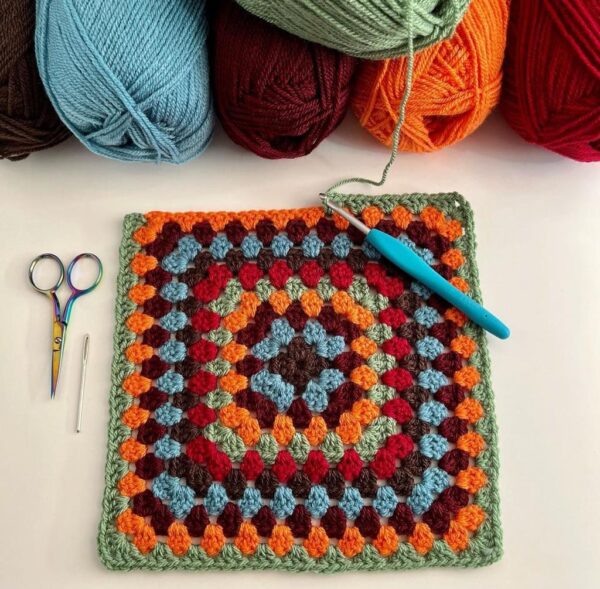
Tips for a Perfect Granny Square
- Keep your yarn tension even — not too tight, not too loose.
- Change colors every round for a cheerful, traditional style.
- Use a tapestry needle to neatly weave in your yarn ends.
- Block your squares (lightly spray with water and pin to shape) to make them lay flat and even.
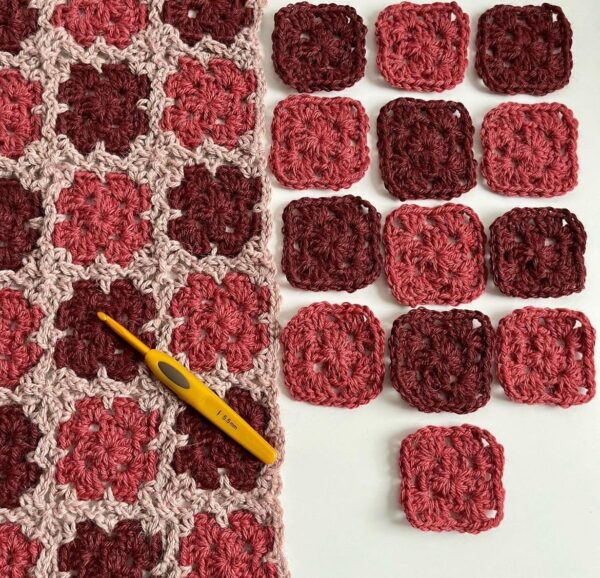
What Can You Make with Granny Squares?
Once you master the basic square, you can join them to create endless projects:
- Cozy blankets and throws
- Pillow covers
- Bags and totes
- Handmade clothing (tops, vests, skirts)
- Rugs and table runners
The granny square is a simple pattern with infinite creative potential — and best of all, it’s a relaxing and meditative craft to enjoy anytime.
Final Thoughts
The traditional granny square never goes out of style. Learning it is the perfect first step to mastering crochet and creating colorful, handmade pieces full of personality.
Whether you’re decorating your home, making a heartfelt gift, or simply enjoying some quiet creative time, this classic pattern is perfect for beginners and produces beautiful results!


