


Crochet bikinis have become a trendy and stylish choice for beachwear, combining the classic craft of crochet with modern fashion.
Creating your own crochet bikini allows you to customize the fit, color, and design to your liking.
Whether you’re a beginner or looking to expand your crochet skills, this guide will walk you through the process of making a simple yet chic crochet bikini.
We’ll explore ideas for different styles and provide step-by-step instructions to get you started.
Materials Needed
Before starting your project, gather the following materials:
- Yarn: Use a lightweight, stretchy yarn suitable for swimwear, such as cotton-blend or microfiber yarn. You’ll need about 300-500 yards, depending on the size and style.
- Crochet Hook: A size G/6 (4.0 mm) or H/8 (5.0 mm) hook is recommended, but check your yarn’s label for the best hook size.
- Stitch Markers: To mark important points in your project.
- Tapestry Needle: For weaving in ends and seaming.
- Scissors: For cutting yarn.
- Lining Fabric (Optional): For added comfort and coverage.
Gauge and Sizing
Gauge is important for swimwear to ensure a snug fit. For this project, a 4×4 inch (10×10 cm) square should equal 16 stitches and 20 rows in single crochet (SC). Make a swatch to check your gauge and adjust your hook size if necessary.
Bikini Top Styles
There are several styles of crochet bikini tops to choose from, but we’ll focus on two beginner-friendly designs: the triangle top and the bandeau top.
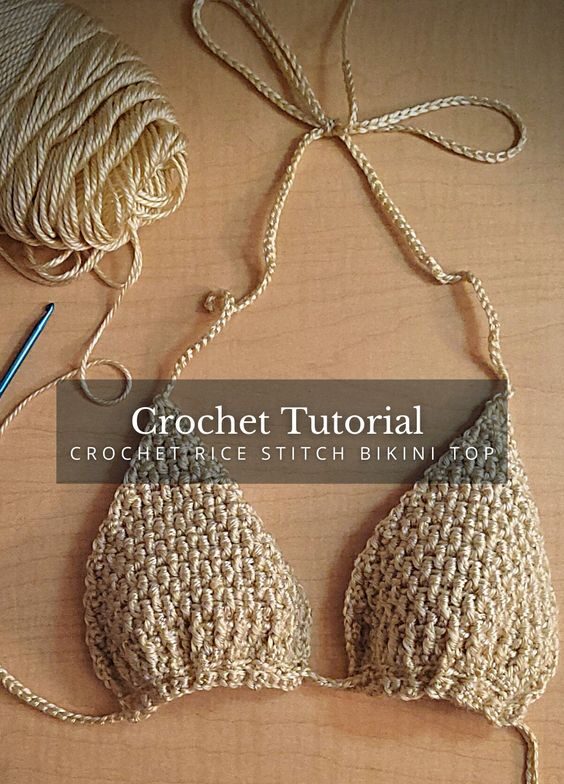
Triangle Bikini Top
The triangle bikini top is a classic and flattering style. Here’s how to make it:
- Foundation Chain: Start by chaining 14 (or adjust based on your desired cup size).
- Row 1: SC in the 2nd chain from the hook and in each chain across. (13 SC)
- Row 2: Chain 1, turn your work, SC in each stitch across. When you reach the last stitch, make 3 SC in that stitch to create the point of the triangle. Continue SC down the other side of the chain, making 1 SC in each stitch. (27 SC)
- Row 3: Chain 1, turn, SC in each stitch up to the point. In the center stitch (the point), make 3 SC. SC in each stitch down the other side. (29 SC)
- Rows 4-10 (or until desired size): Repeat Row 3, increasing by 2 stitches on each side with each row. Adjust the number of rows for more coverage.
- Edging and Straps:
- SC evenly around the entire cup.
- For the straps, chain 50 (or more for longer ties) at each corner of the cup. Attach them to the top of the triangle and at the sides for secure ties around the neck and back.
- Repeat for the second cup.
Bandeau Bikini Top
The bandeau top is a simple tube style that can be dressed up with additional details like ties or ruffles.
- Foundation Chain: Chain 80 (or adjust based on your bust measurement).
- Row 1: SC in the 2nd chain from the hook and in each chain across. Turn your work. (79 SC)
- Rows 2-10 (or desired width): Chain 1, SC in each stitch across. Turn your work.
- Seam: Fold the piece in half lengthwise and seam the short ends together using a tapestry needle or slip stitch to form a tube.
- Edging and Straps:
- SC evenly around the top and bottom edges for a clean finish.
- For optional straps, attach yarn at the top corners and chain 50 (or desired length) for ties around the neck.

Bikini Bottom Styles
For the bottoms, we’ll cover a basic bikini bottom and a high-waisted option.
Basic Bikini Bottom
- Foundation Chain: Chain 16 (or adjust based on your desired width at the crotch).
- Row 1: SC in the 2nd chain from the hook and in each chain across. Turn your work. (15 SC)
- Rows 2-10: Chain 1, SC in each stitch across. Turn your work. Adjust the number of rows for the desired length of the crotch area.
- Increasing Rows for the Hips:
- Row 11: Chain 1, SC in the first stitch, 2 SC in the next stitch, SC in each stitch until the last 2 stitches, 2 SC in the second-to-last stitch, SC in the last stitch. (17 SC)
- Row 12: Chain 1, SC in each stitch across. Turn your work.
- Repeat Rows 11 and 12 until you reach your desired hip width (about 30-35 stitches depending on size).
- Front and Back Panels: Repeat the same process to create the front and back panels.
- Seam the Sides: Align the front and back panels and seam the sides together.
- Edging and Ties:
- SC around the leg openings and the top edge for a clean finish.
- For ties, attach yarn to each corner of the waistband and chain 50 (or desired length) for adjustable ties.
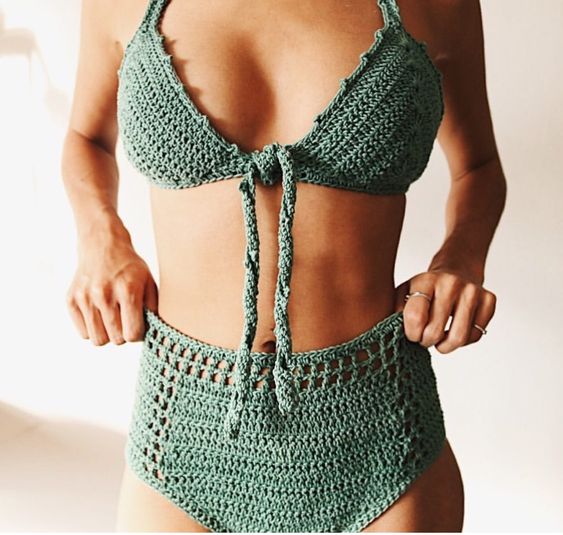
High-Waisted Bikini Bottom
- Foundation Chain: Chain 20 (or adjust based on your desired width at the crotch).
- Row 1: SC in the 2nd chain from the hook and in each chain across. Turn your work. (19 SC)
- Rows 2-10: Chain 1, SC in each stitch across. Turn your work.
- Increasing Rows for the Waist:
- Row 11: Chain 1, SC in the first stitch, 2 SC in the next stitch, SC in each stitch until the last 2 stitches, 2 SC in the second-to-last stitch, SC in the last stitch. (21 SC)
- Row 12: Chain 1, SC in each stitch across. Turn your work.
- Repeat Rows 11 and 12 until you reach your desired waist width (about 40-45 stitches depending on size).
- Front and Back Panels: Repeat the same process to create the front and back panels.
- Seam the Sides: Align the front and back panels and seam the sides together.
- Edging and Ties:
- SC around the leg openings and the top edge for a clean finish.
- For optional ties, attach yarn to each corner of the waistband and chain 50 (or desired length).
Finishing Touches
- Lining (Optional): If you prefer extra coverage, sew a soft lining fabric to the inside of the bikini top and bottoms.
- Weave in Ends: Use the tapestry needle to weave in any loose ends from your seaming and finishing.
- Blocking: Gently block your pieces to even out the stitches and shape the bikini.
Tips for Success
- Customize Your Fit: Adjust the foundation chain and the number of rows to tailor the bikini to your body measurements.
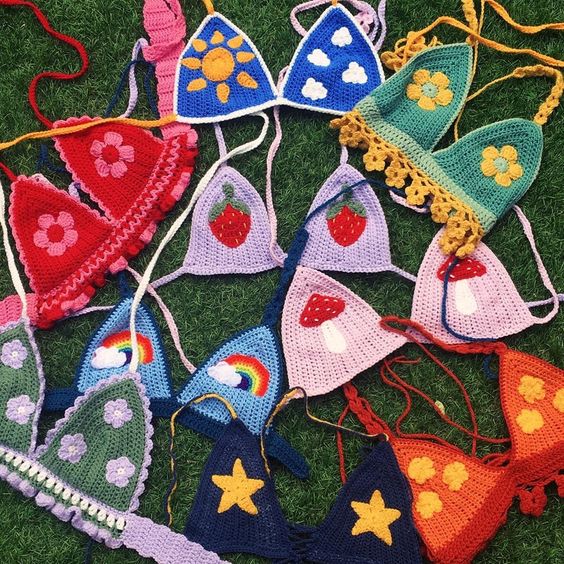
- Experiment with Patterns: Use different stitch patterns like shell stitches or granny squares for unique designs.
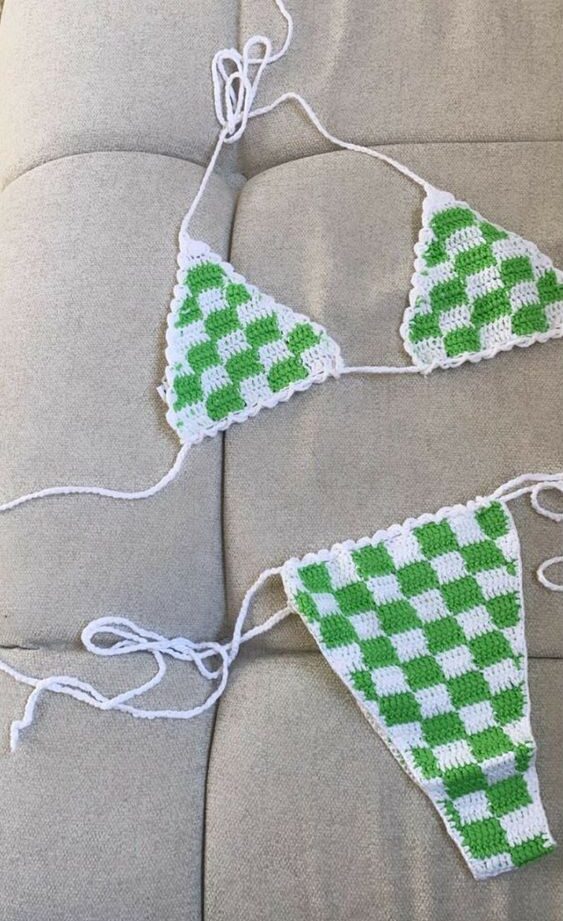
- Color Play: Mix and match colors to create stripes, ombre effects, or color blocks.
- Check Fit as You Go: Try on the pieces during the assembly process to ensure a comfortable fit.
Conclusion
Creating a crochet bikini is a delightful way to combine your love for crochet with stylish summer fashion. Whether you opt for the classic triangle top or a chic high-waisted bottom, this guide provides the foundation you need to get started.
With practice, you can experiment with various styles, colors, and patterns to make a bikini that’s uniquely yours. Enjoy your crochet journey and flaunt your handmade beachwear with pride!
Happy crocheting!