


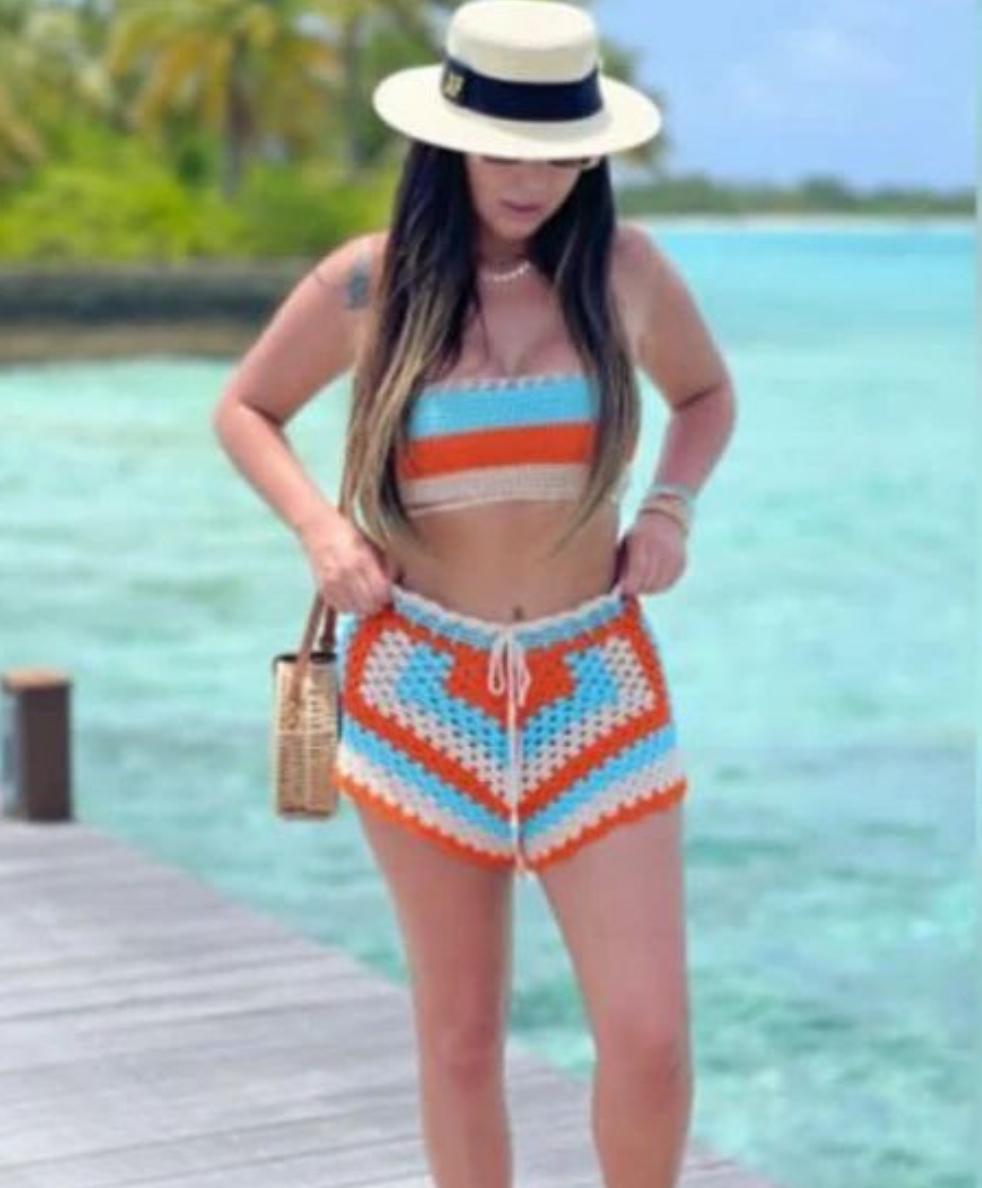
Crocheting your own pair of shorts is a fun and rewarding project that combines creativity and practicality.
Whether you’re making them for a summer beach day or as a cozy layer for lounging at home, crochet shorts are a versatile addition to your wardrobe.
This guide will walk you through the process of creating a simple pair of crochet shorts, perfect for beginners.
Materials Needed
Before you start your project, gather the following materials:
- Yarn: Choose a lightweight cotton or cotton-blend yarn. For a pair of women’s medium-sized shorts, you’ll need approximately 600-800 yards, depending on the length.
- Crochet Hook: A size H/8 (5.0 mm) or I/9 (5.5 mm) hook, depending on your tension and the thickness of your yarn.
- Tapestry Needle: For weaving in ends and seaming.
- Scissors: For cutting yarn.
- Stitch Markers: To mark important points in your project.
- Elastic or Drawstring: For the waistband, if desired.
Gauge and Sizing
Gauge is important in ensuring your shorts fit properly. For this pattern, a 4×4 inch (10×10 cm) square should equal 16 stitches and 12 rows in double crochet (DC). Make a swatch to check your gauge and adjust your hook size if necessary.
The shorts will be made in two panels (front and back) and then seamed together. This method allows for easy adjustments to fit different sizes.
Step-by-Step Instructions
Step 1: Creating the Panels
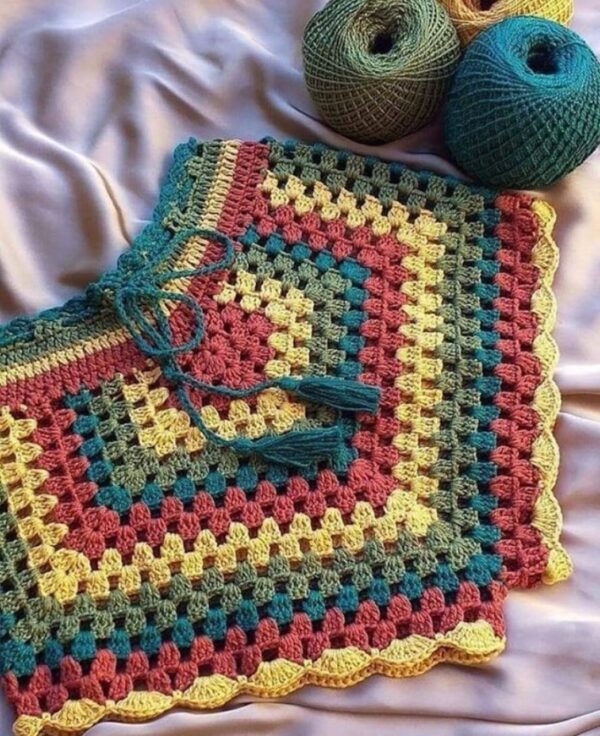
Note: This pattern will describe making the shorts in one color. Feel free to change colors as desired for a more personalized look.
- Foundation Chain: Start by making a foundation chain for the front panel. Chain 72 (or adjust according to your size and gauge).
- Row 1: Double crochet (DC) in the 3rd chain from the hook and in each chain across. Turn your work. You should have 70 DCs.
- Row 2-20 (or desired length): Chain 2 (counts as first DC), DC in each stitch across. Turn your work.
- Increase Rows for Leg Openings: To shape the leg openings, you will increase on both sides of the next few rows:
- Row 21: Chain 2, DC in the first stitch, DC in each stitch across, DC in the space between the last DC and the chain 2. Turn your work. (72 DCs)
- Row 22-24: Repeat Row 21. Each row should add 2 stitches, resulting in 78 DCs by the end of Row 24.
- Repeat for the Back Panel: Make another panel identical to the first for the back of the shorts.
Step 2: Shaping the Crotch Area
To create a comfortable fit, we’ll add a crotch panel between the front and back panels.
- Foundation Chain: Chain 15.
- Row 1: DC in the 3rd chain from the hook and in each chain across. Turn your work.
- Row 2-4: Chain 2, DC in each stitch across. Turn your work.
Step 3: Assembling the Shorts
Now that you have your front, back, and crotch panels, it’s time to assemble the shorts.
- Seam the Sides: Place the front and back panels together with the right sides facing each other. Using a tapestry needle and yarn, seam up the sides, stopping where the increases for the leg openings begin.
- Attach the Crotch Panel: Align the crotch panel with the bottom of the front and back panels. Seam the sides of the crotch panel to the front and back panels. This will form the bottom of the shorts.
- Seam the Legs: With the shorts still inside out, seam the inseams of each leg. Start from the bottom of the crotch panel and sew down to the end of each leg opening.
Step 4: Adding the Waistband
The waistband can be customized with either an elastic band or a crocheted drawstring.
- Elastic Band:
- Measure and cut a piece of elastic that fits comfortably around your waist.
- Fold the top edge of the shorts inward to create a casing for the elastic. Make sure it’s wide enough to accommodate the elastic.
- Sew the casing closed, leaving a small opening to insert the elastic.
- Thread the elastic through the casing using a safety pin.
- Sew the ends of the elastic together and close the opening.
- Crocheted Drawstring:
- Chain a length that fits comfortably around your waist plus some extra for tying (about 100 chains).
- Single crochet (SC) in each chain across.
- Weave the drawstring through the stitches of the top row of the waistband.
Step 5: Adding Finishing Touches
- Hem the Legs: If desired, you can add a simple border to the leg openings.
- Attach yarn to the bottom of the leg opening.
- SC evenly around the leg opening. Join with a slip stitch and fasten off. Repeat for the other leg.
- Weave in Ends: Use the tapestry needle to weave in any loose ends from the seams and finishing.
Tips for Success
- Customize Your Fit: Adjust the width and length of the panels to suit your body shape and style preferences.
- Check Fit as You Go: Try on the shorts during the assembly process to ensure they fit comfortably.
- Use Stitch Markers: Mark key points such as the start of the leg openings and the crotch panel to keep your pieces aligned.
- Choose the Right Yarn: Lightweight cotton yarn is breathable and comfortable for warm weather, while a cotton-blend adds a bit of stretch and durability.
Conclusion
Congratulations! You’ve created a pair of stylish and comfortable crochet shorts. This beginner-friendly project allows you to explore garment-making in crochet and offers plenty of room for customization.
With practice, you can experiment with different yarns, colors, and patterns to create shorts that are uniquely yours. Enjoy wearing your new handmade creation or gifting it to a friend!
Happy crocheting!