Crafting has always been a beautiful way to express creativity and emotions.
One timeless symbol that resonates with love and affection is the heart.
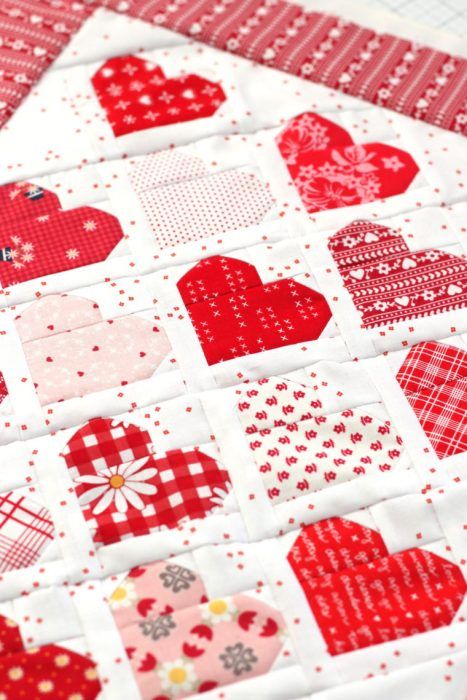
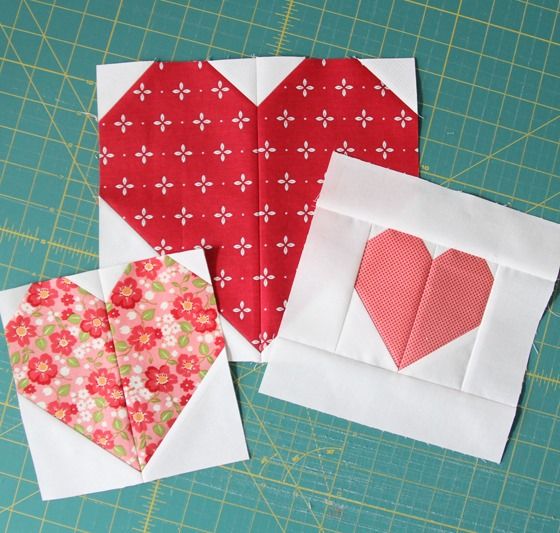
In this article, we will explore the art of making heart blocks in multiple sizes, providing a versatile and heartfelt addition to your crafting repertoire.
Materials Needed: Before we delve into the crafting process, gather the following materials:
- Fabric in various colors
- Rotary cutter and cutting mat
- Quilting ruler
- Sewing machine
- Iron and ironing board
- Pins
- Thread in coordinating colors
Choosing Fabrics: Selecting the right fabrics is crucial for creating visually appealing heart blocks. Opt for a variety of colors that complement each other, ensuring a harmonious and vibrant outcome. Consider using different textures and patterns to add depth to your heart blocks.
Cutting the Fabric: Once you have chosen your fabrics, use the rotary cutter, cutting mat, and quilting ruler to cut squares of various sizes. The size of the squares will determine the size of your heart blocks. Common sizes include 4 inches, 6 inches, and 8 inches.
Creating Half-Square Triangles: To form the basic heart shape, you’ll need to create half-square triangles from your fabric squares. Place two squares right sides together and draw a diagonal line from one corner to the opposite corner. Sew along the drawn line, then cut along the line to create two triangles. Press the seams open to reduce bulk.
Arranging and Sewing the Heart Blocks: Experiment with different arrangements of the half-square triangles to create the desired heart shape. Once satisfied with the layout, sew the triangles together, ensuring precise seam allowances. Press the seams open to maintain a flat and professional finish.
Assembling Multiple Sizes: To create a visually appealing project, consider incorporating heart blocks of various sizes into your design. Experiment with placing smaller heart blocks within larger ones or arrange them in a cascading pattern. This adds dimension and complexity to your crafting project.
Adding Borders: Enhance the overall aesthetic of your heart block project by adding borders. Choose a coordinating fabric and attach borders to the outer edges of your heart blocks. This not only frames the design but also ties the different sizes together seamlessly.
Finishing Touches: Once you have assembled your heart blocks and added borders, take the time to inspect your project. Trim any excess fabric and threads, ensuring a polished final product. Consider quilting the layers together for added stability and texture.
Conclusion:
Crafting heart blocks in multiple sizes allows for endless possibilities in expressing love and creativity. Whether you’re creating a quilt, pillow, or wall hanging, the versatility of heart blocks ensures a heartfelt touch to any project.
Enjoy the process of experimenting with colors, sizes, and arrangements to craft a unique and beautiful expression of love through your handmade creations.
