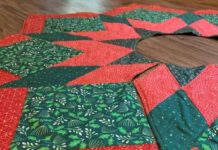
Grandma’s Star Quilt, is a classic patchwork pattern that has been passed down from generation to generation. This pattern is known for its sharp-edged stars and diamond-shaped blocks that come together to form a striking design. The beauty and intricacy of the Grandma’s Star quilt pattern make it a popular choice for crafters of all skill levels.
History of Grandma’s Star Quilt Pattern
The history of the granny star quilt pattern dates back to the late 19th and early 20th centuries when women used scraps of fabric to create warm and cozy quilts. The patchwork technique was a practical way of using discarded fabrics from clothes and other household items, transforming them into a useful work of art.
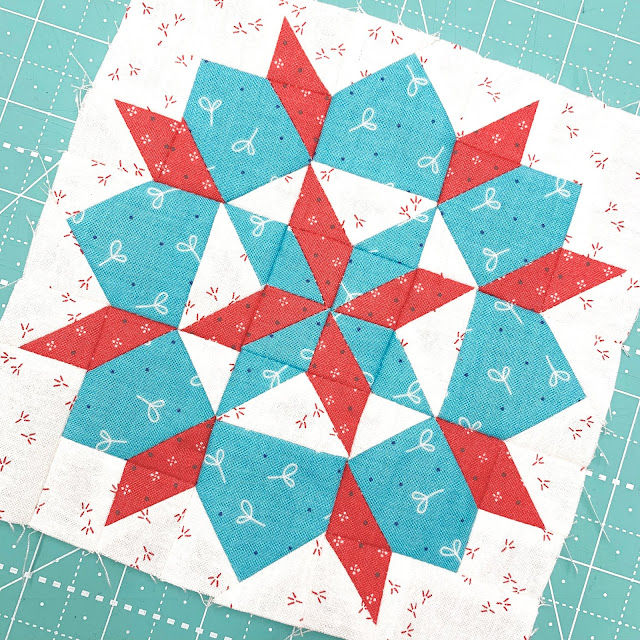
Grandma’s star quilt is a variation on the diamond-shaped block technique, which dates back to the 18th century. The diamond-shaped blocks were adapted to create an eight-pointed star, which became the centerpiece of Grandma’s star quilt. Over time, the design evolved to include six-pointed stars, as well as other decorative elements such as fabric borders and appliqué details.
Sewing Techniques Used in Grandma’s Star Quilt Pattern
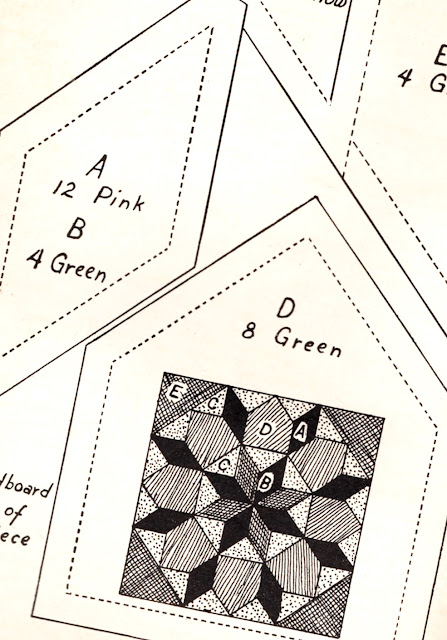
The granny star quilt is a patchwork quilt, which means it is made up of many blocks sewn together to create an overall pattern. Each block is made up of four diamond-shaped triangles that come together to form an eight-pointed star. There are several sewing techniques that can be used to create the granny star blocks, including hand stitching, machine stitching and base stitching.
Hand sewing is the more traditional technique and may be best suited for beginners learning to create granny star blocks. Machine sewing can be faster and more efficient, but it takes skill and practice to get accurate results. Base stitching is a technique that involves sewing fabric onto a paper base, making it easy to create precise, even blocks.
How to Make a Star Granny Quilt
Making a granny star quilt can be a fun and rewarding activity, but it does require some sewing knowledge and skill. Follow the steps below to create your own granny quilt:
Necessary materials:
Cotton fabrics in assorted colors and patterns
rotary cutter
cutting ruler
cutting base
Sewing thread
Sewing machine or needle and thread
Iron
Step 1: Choose Fabrics
Choose cotton fabrics in assorted colors and patterns for your Star Grandma quilt. Make sure the fabrics complement each other and create a good contrast. If using the hand sewing technique, it can be helpful to use pre-cut fabric to save time.
Step 2: Cut the diamond-shaped triangles
Use the rotary cutter, cutting ruler and cutting mat to cut fabrics into diamond-shaped triangles. To do this, measure and mark the fabric at regular intervals and cut it following the marking.
Step 3: Create the Star Blocks
To create the granny star blocks, sew four diamond-shaped triangles together, forming an eight-pointed star. Repeat the process to create as many star blocks as you need for your quilt.
Step 4: Assemble the quilt
After creating the star blocks, it’s time to assemble the quilt. Place the star blocks in an arrangement you like and sew them together. Add fabric borders, if desired, and finish with lining and stuffing.
Step 5: Quilting the quilt
Quilting is the process of joining the quilt top, batting and lining together. This can be done by hand or machine depending on your preference. If sewing by hand, use a quilting needle and cotton thread. If using the machine, use a quilting needle and high-strength thread.
Step 6: Finish the quilt
After quilting, remove any pin marks or lines and iron the quilt. Add finishing touches, such as a fabric border or bias binding, if desired.
Conclusion:
Grandma’s Star Quilt is a classic piece of patchwork that can be passed down from generation to generation. With a little sewing knowledge and patience, you can create your own star granny quilt that will be cherished for years to come. Remember to have fun and experiment with different fabrics and colors to create a unique and personalized quilt.
