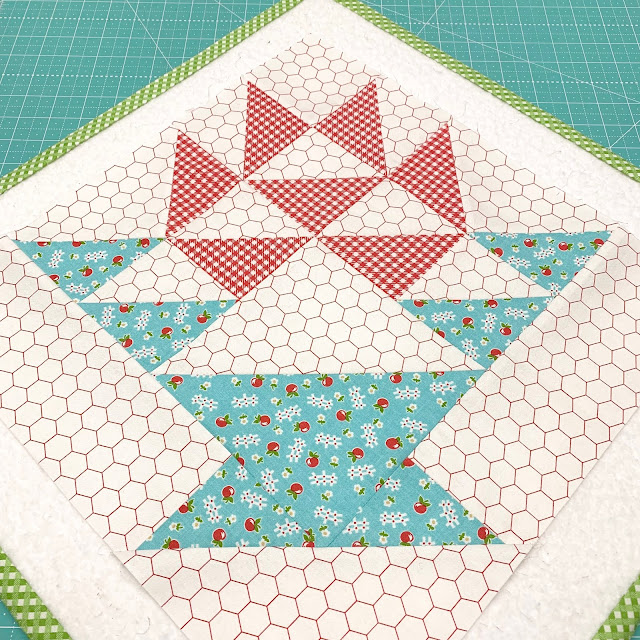
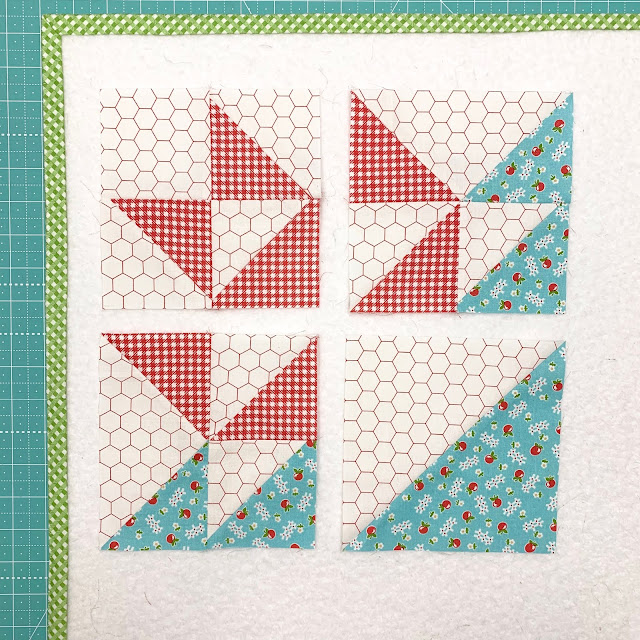
The basket block is a classic patchwork pattern that is easy to make and adds a touch of style to your quilt or sewing project. This basket block tutorial will provide step-by-step instructions for creating your own basket block.
Necessary materials:
Cotton fabrics in assorted colors and patterns
rotary cutter
cutting ruler
Cutting base
Sewing thread
Sewing machine or needle and hand thread
Iron

Step 1: Choose Fabrics
Choose cotton fabrics in assorted colors and patterns for your basket block. Make sure the fabrics complement each other and create a nice contrast.
Step 2: Cut the Fabrics
Use the rotary cutter, cutting ruler and cutting mat to cut fabrics into 4.5 inch squares. You will need 1 square for the bottom of the basket and 2 squares for the sides.
Step 3: Create the Handles
To create the basket handles, cut two 2.5-inch by 9-inch strips of fabric. Fold each strip in half right side in and sew the long edges together. Turn the handles right side out and press with an iron.
Step 4: Sew the Sides
Place one of the side squares on top of the bottom square, right side down. Sew along one side, using a 1/4 inch seam allowance. Then place the second side square over the other side of the bottom square and sew it along the opposite side.
Step 5: Add the Handles
Position the basket handles at the top of the sides and sew them to each end. Make sure the handles are facing the center of the basket.
Step 6: Join the Sides
Fold the basket block in half, right sides together, and sew along the side edges, leaving the top open. Use a 1/4 inch seam allowance.
Step 7: Finish the Block
Press seams open and turn basket block right side out. Add any finishes, such as quilting or bias, if desired.
Conclusion:
Creating the basket block is a fun and easy way to add interest and texture to your quilt or sewing project. Experiment with different fabrics and colors to create a unique, personalized basket. Follow the steps above and create your own basket pad today!


