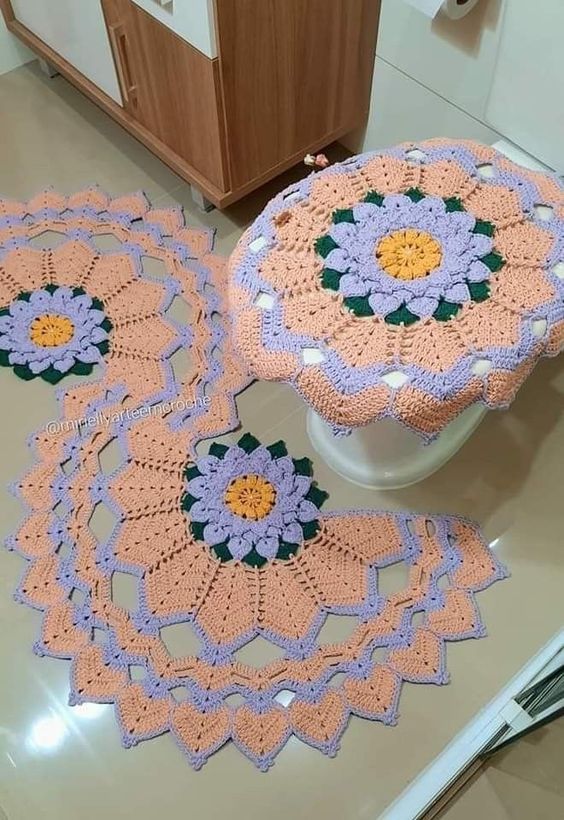
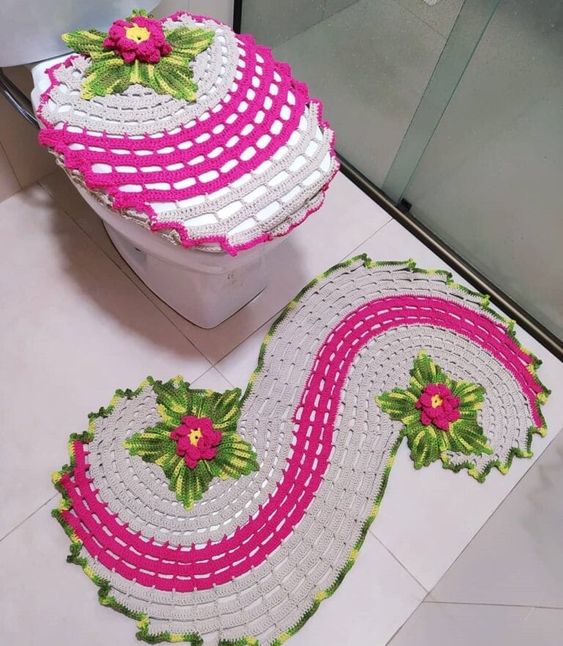
Crocheting bathroom rugs can be a fun and rewarding project for any crochet artist. In addition to being functional, crochet rugs add beautiful decor to the bathroom. In this tutorial, we’ll show you step-by-step how to crochet a bathroom rug in a simple, easy-to-follow pattern.
Necessary materials:
Cotton crochet rug yarn (or other thick machine washable yarn)
crochet hook 6mm
Scissors
See also Free Pattern: Granny Square
Step 1: Starting the crochet bathroom rug
Start by making a chain of 18 stitches.
Step 2: First row
On the first row, make a single crochet (sc) in each stitch of the chain. At the end of the row, make two chains (which will count as a double crochet) and turn the work.
Step 3: Second row
On the second row, make a double crochet (dc) in each single crochet on the previous row. At the end of the row, make two chains and turn the work.
Step 4: Repeat the second row
Repeat the second row until the crochet rug reaches the desired length. For a standard bathroom rug, you can work around 20-22 rows.
Step 5: Finishing
To finish the crochet rug, make a row of single crochets along the entire edge of the rug. Be sure to make three single crochets in each corner to help keep the rug flat.
Step 6: Washing the crochet rug
Wash the crochet rug in a regular washing machine with warm water. Be sure to use a gentle wash cycle and a mild detergent. Air dry the crochet rug, making sure to lay it out completely to avoid wrinkling.
See also Free Pattern: Granny Square
Additional Tips:
To add interesting texture to your crochet rug, try working two strands together. This will also increase the durability of your bath mat.
You can customize the size and color of the crochet rug to suit your bathroom decor.
Be sure to choose a sturdy cotton yarn that can be machine washed. This will ensure your crochet rug lasts a long time.